Total: US$697.00
Table of Contents
- 1. Unbox & Inspect the Device
- 2. Install Hash Rate Cards
- 3. Connect the Power Supply
- 4. Connect to Miner’s Wi-Fi
- 5. Link Miner to Your Home Wi-Fi
- 6. Find the Miner on Your Network
- 7. Unlock the Miner
- 8. (Optional for setup Goldshell Byte) Change Password or Set Static IP
- 9. Add Mining Pools
- 10. Monitor Miner Performance
- 11. Tips & Best Practices
04/09/2025
0 Comments
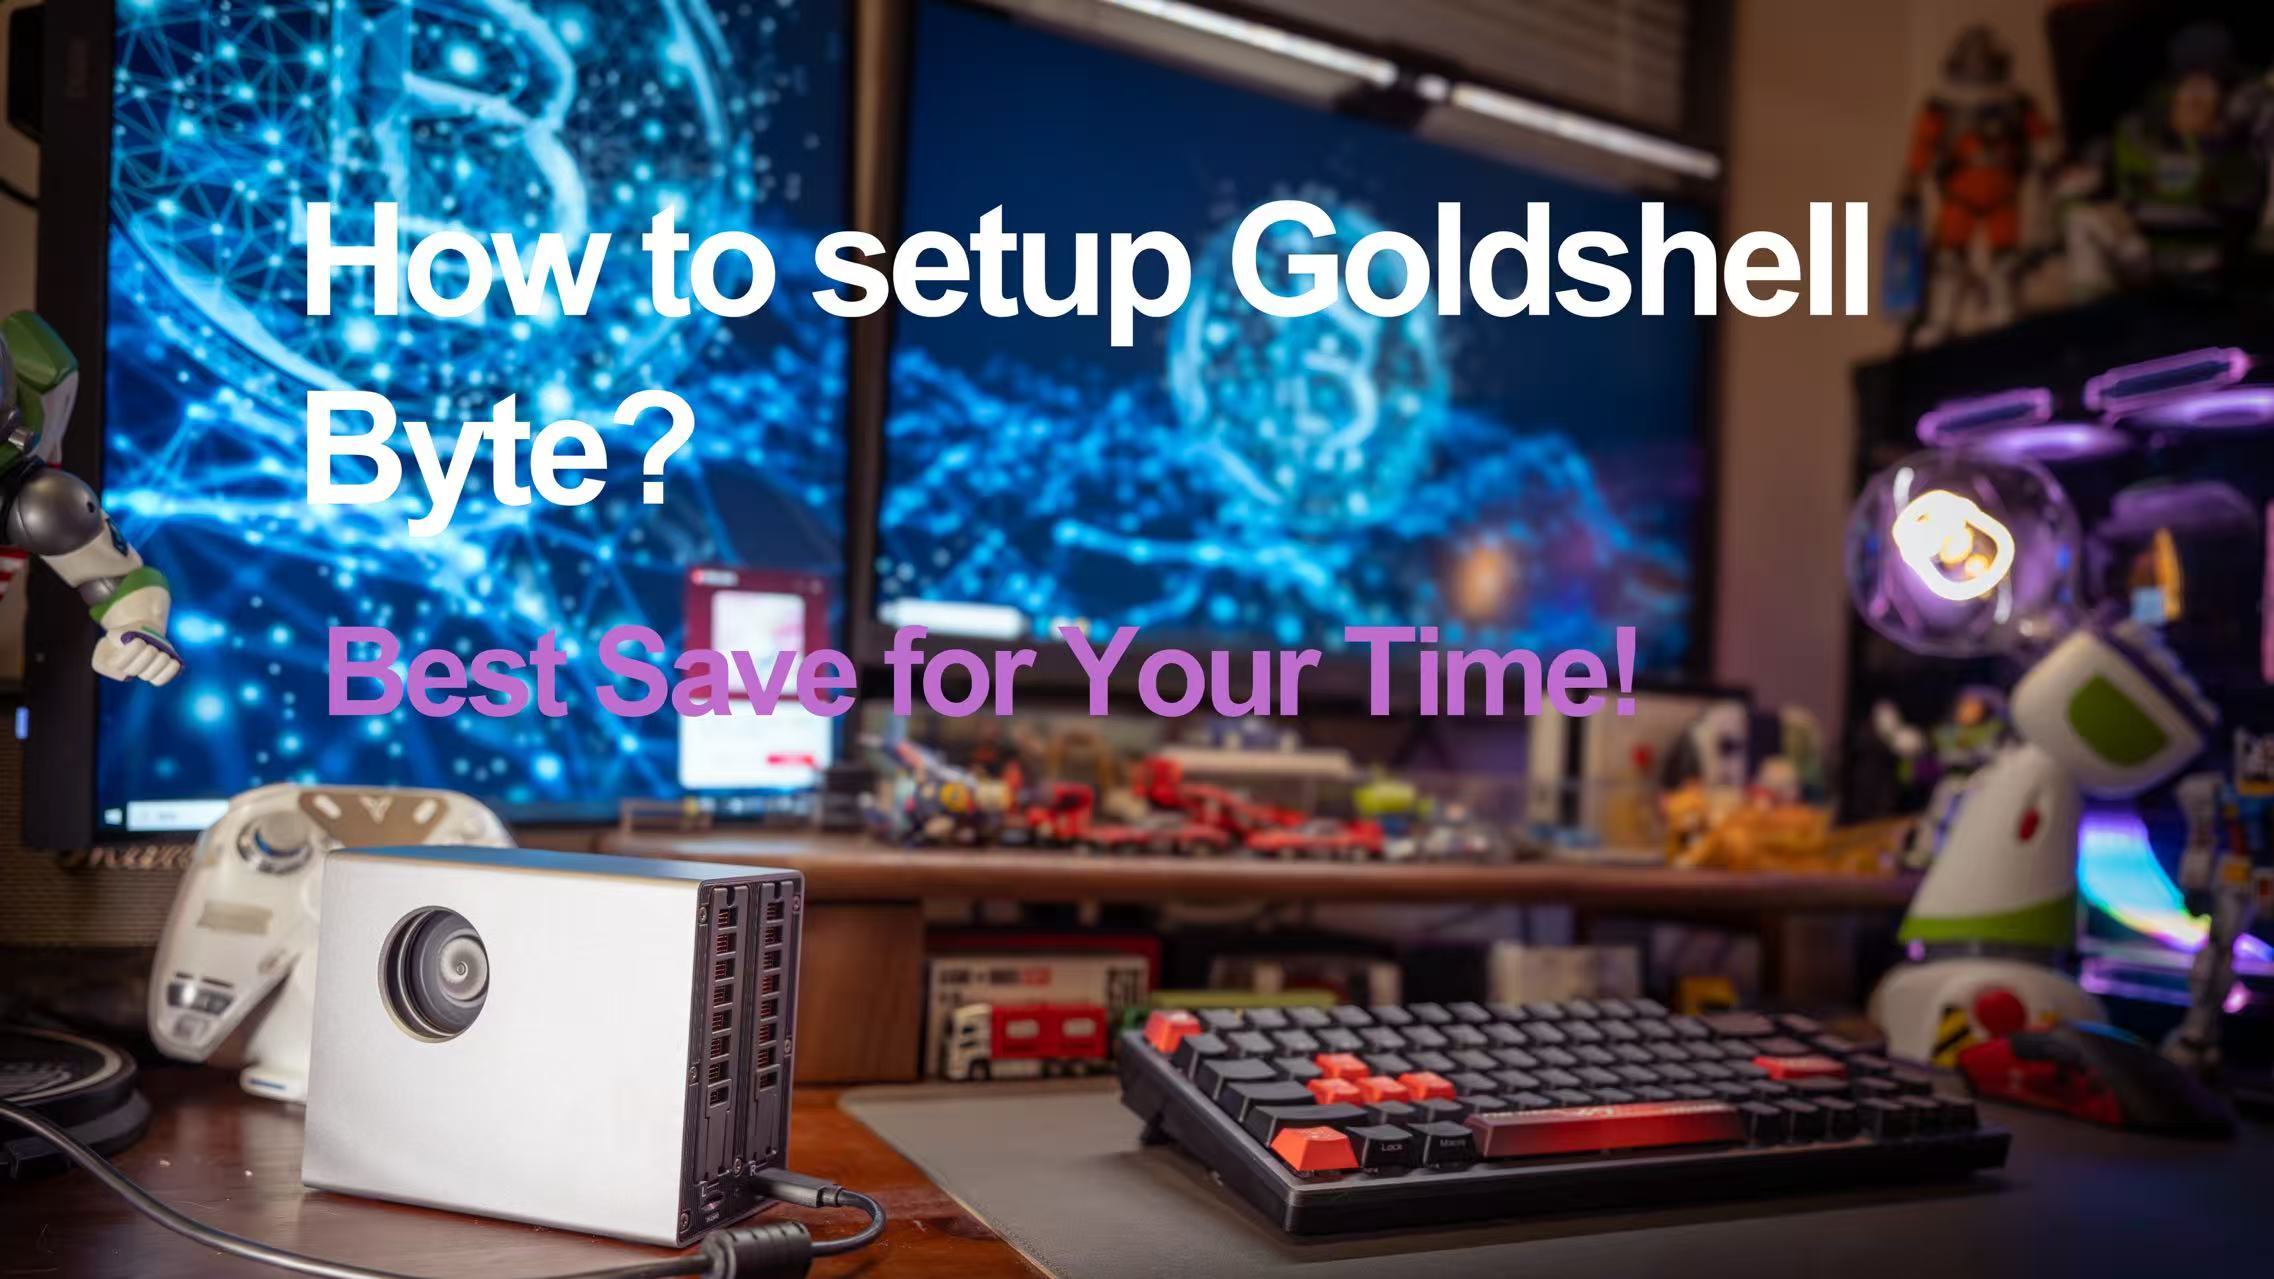
Setting up the Goldshell BYTE is designed to be as simple and seamless as its compact, modular design suggests. As a newly released miner to support dual algorithms via hot-swappable cards, Goldshell BYTE makes it easy for users to start mining right out of the box. Whether you’re inserting the included DG card, adding an AE card, or setting up your Wi-Fi connection, the setup Goldshell Byte process is intuitive and beginner-friendly. In this guide, we’ll walk you through each step—from unboxing to connecting your miner and configuring your mining pool—so you can start mining DOGE, ALEO, or both in just a few minutes.
Shop link: https://bt-miners.com/products/goldshell-byte-aleo-doge-coin-miner-bt-miners/
ALEO Calculator: https://bt-miners.com/aleo-mining-calculator/
DOGE<C Calculator: https://bt-miners.com/ltc-doge-earnings-calculator/
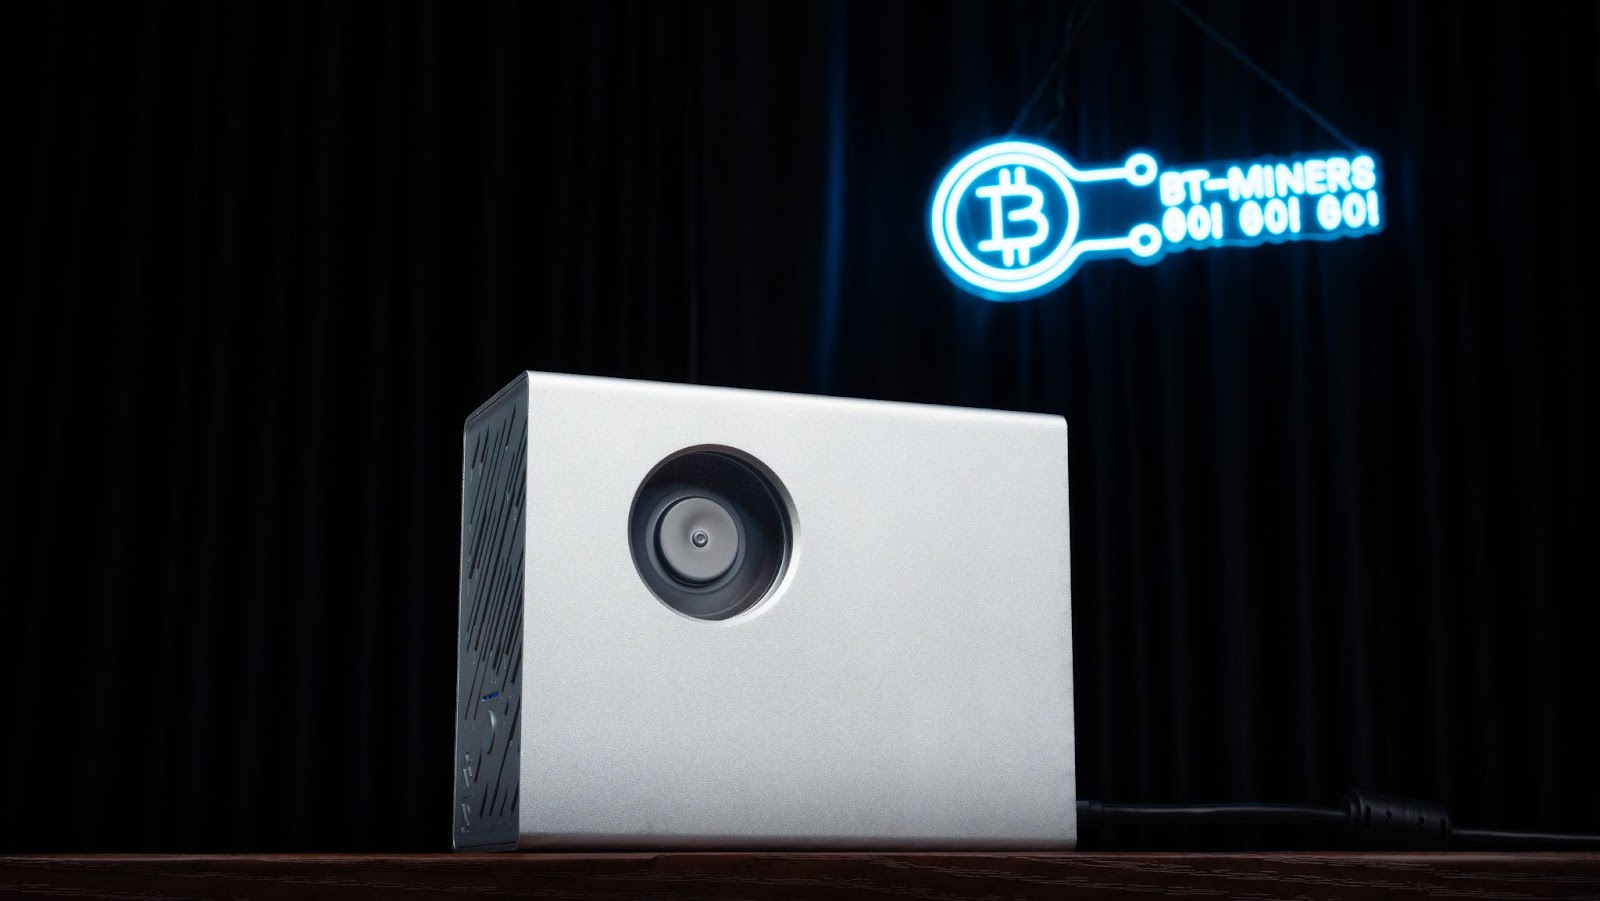
1. Unbox & Inspect the Device
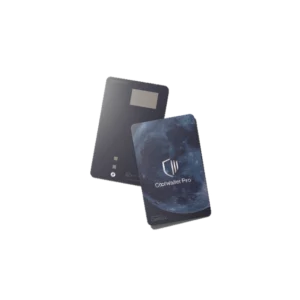
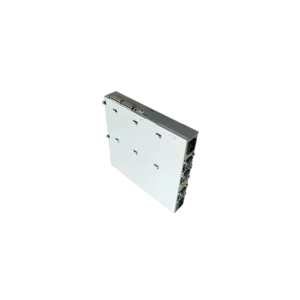
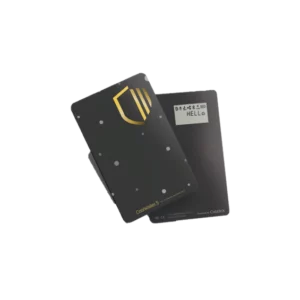
Goldshell Byte and the card are packaged separately, and each card has its own box. If you buy the matching 140w charger, you will also get three different types of plugs. After getting the machine, you will be amazed at how small it is and can be held in one hand. The overall shell is made of metal, and it feels and looks good. At present, when you place an order for the new product discount and buy the Goldshell Byte, you will get a Doge card by default, and you can also buy one/two Aleo cards or a DOGE card. It is worth noting that each byte machine can only install and run two cards at the same time.
2. Install Hash Rate Cards

Insert one or two hash rate cards (e.g., Doge Card, Aleo Card) into the designated slots.
Ensure cards are seated properly.
3. Connect the Power Supply
Plug in the Goldshell power.
Attach the correct power plug type (EU/US/UK) if needed.
Wait for the fan to spin and blue LED to blink.
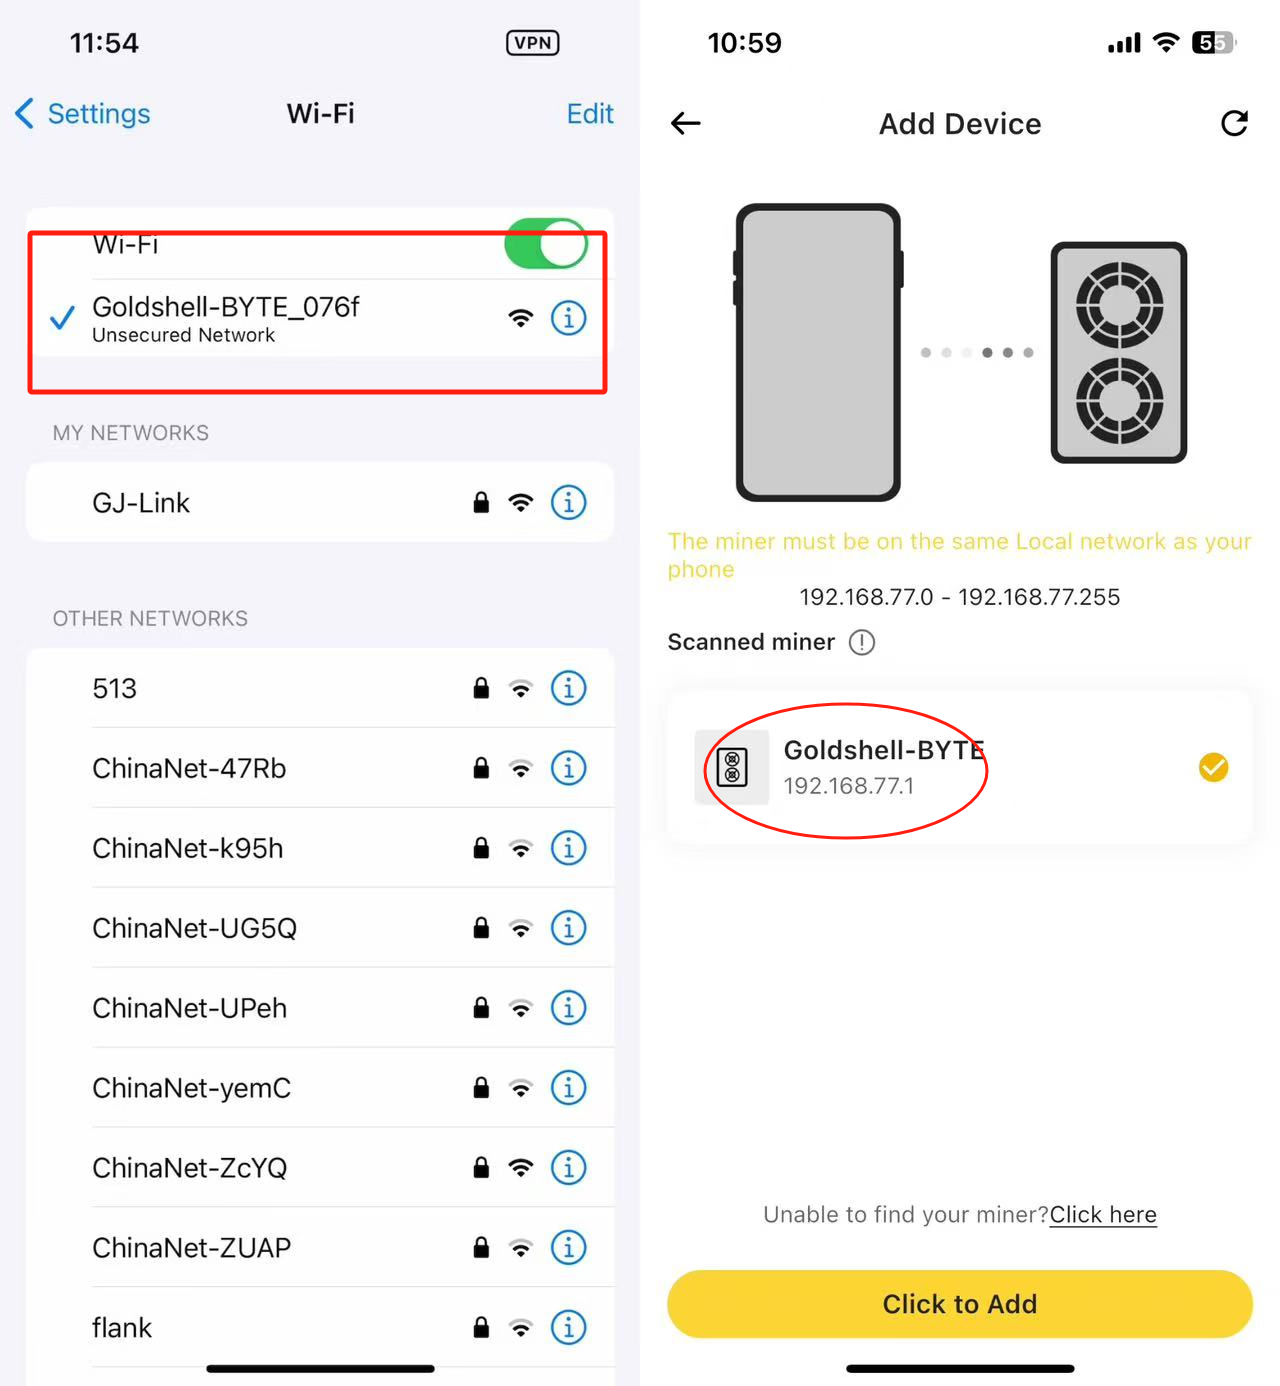
4. Connect to Miner’s Wi-Fi
On your phone or computer, connect to the Wi-Fi network starting with Goldshell-BYTE.
Once connected, open a browser and go to:
192.168.77.1(usually this one)
5. Link Miner to Your Home Wi-Fi
On the dashboard, go to System -> Wi-Fi Settings.
Select your home network and enter the password.
The miner will reboot and disconnect its hotspot.

6. Find the Miner on Your Network
Switch your device back to your home Wi-Fi.
Go to find.goldshell.com or use the Goldshell Zone App.
Access your miner’s dashboard.
* Remember to set your device and your miner on the same network!
7. Unlock the Miner
Click “Unlock” on the dashboard.
Default password: 123456789
8. (Optional for setup Goldshell Byte) Change Password or Set Static IP
Go to System > Change Password to secure your device.
Disable DHCP and manually input IP settings if needed.
9. Add Mining Pools
Go to the Miner tab.
Choose the coin (Aleo or Dogecoin).
Add pool info: Pool URL (e.g., F2Pool or DxPool address) & Miner name (usually your wallet or account name)
Password: any string
Click Apply.
A green icon indicates a successful connection.
10. Monitor Miner Performance
Now you have done the setup Goldshell Byte process, and it’s time to chcek the performance of the miner!
Use the Goldshell Zone App or web interface to view: Hashrate, Card temperature, Pool status, and Power consumption.

11. Tips & Best Practices
Operate in a clean, dry, and well-ventilated area (0°C–35°C, <65% humidity).
Avoid frequent card swapping while powered on.
Keep firmware up to date for optimal performance and card compatibility.
Use silent settings for low-noise environments.